The applicant experience
Walk through every step an applicant sees in Certivant — from the KYC invitation email to the verified confirmation — so you can help them when they get stuck.
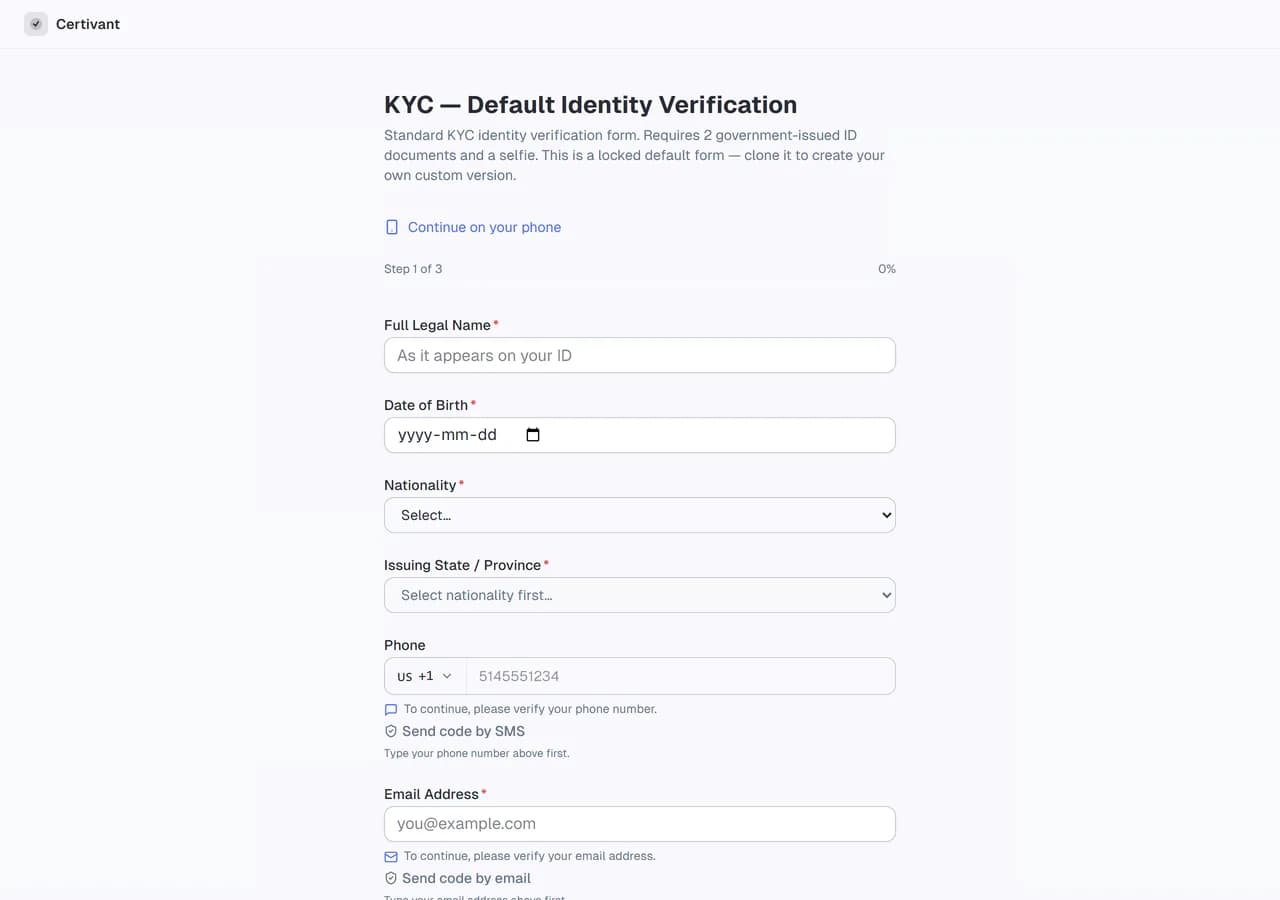
What it does
Your applicants — the people whose identity you're verifying — never sign into the Certivant dashboard. They go through a separate hosted flow: email link, browser-based upload, optional live video, decision notification.
This page describes that experience step by step, so when an applicant calls you confused ("I clicked the link and nothing happened"), you know what they're looking at and can help them.
The flow at a glance
flowchart LR
    Email[Invitation email] --> Open[Click link]
    Open --> Start[Hosted page: 'Verify your identity']
    Start --> EmailCode[Email OTP*]
    EmailCode --> PhoneCode[Phone OTP*]
    PhoneCode --> Docs[Upload ID + selfie]
    Docs --> Form[Custom form fields*]
    Form --> Submit[Submit]
    Submit --> Processing[Processing screen]
    Processing --> Done[Verified / Rejected / Under review]

    %% *=conditional steps
Steps marked with * are conditional — they only appear if the org's settings or the form requires them.
Step 1 — The invitation email
When you send a verification request, the applicant receives:
- Subject: "Verify your identity" (KYC) or "Business verification requested" (KYB).
- From: your org's brand name (if you've set up white-label) or "Certivant" otherwise.
- Body: short intro, a big primary-coloured Start verification button.
- Footer: "Powered by Certivant" + a help email if you've configured one.
The button links to the hosted verification page with a one-time token in the URL. The token is good for 72 hours.
What can go wrong
- Email lands in spam. Tell applicants to add your sender domain (
hello@certivant.comby default, or your white-label sender) to their contacts. - Applicant deletes the email before clicking. Send a fresh invite from the request's detail page.
- Token expires (>72h after issuance). Same fix — resend.
Step 2 — The "Start verification" page
The applicant clicks the link. The hosted page loads, showing:
- Your logo (if white-labelled).
- A short headline: "Verify your identity for [your org name]".
- A list of what they'll need to provide (e.g., "A government-issued photo ID. A selfie. About 3 minutes.").
- A Start button.
The consent panel
Before anything is uploaded, the applicant ticks one box per purpose — there is no "select all". Every public form, the hosted page and the live ID verification ask for:
- Share my personal information — always required.
- Take and send photos — required when the flow takes photos or receives documents. The text says the photos are also used to detect identity fraud.
- Face check — required by default, in every flow that takes photos. The applicant agrees that a template of their face (computed from the ID photo and the selfie) is compared with other verifications processed by Certivant for any organization, only to detect identity fraud, and that it is deleted with their documents. See Fraud signals.
- Share my location — only when your capture policy asks for it.
Where the law requires a non-biometric alternative (for example in Québec), you can switch on Let applicants skip the face check on the form, or send faceCheckSkippable: true when you create the request through the API. For links sent without a form there is also an organization setting. The Face check box then shows an "Optional" tag, and the panel adds: "If you don't agree, no selfie is taken: your organization will verify your identity with you in a live video call." If the applicant declines, the selfie and the face and liveness checks are skipped, the ID documents are still collected, and the request goes to manual review with the reason Face check refused — verify in a live call.
Continue stays disabled until every required box is ticked, the Face check box
included. Refusing a required purpose shows the "you did not consent"
screen and nothing is collected. The answer (purposes,
wording version, privacy-notice hash, IP address, browser) is written to the
request's audit log as request.consent_recorded.
What can go wrong
- Page won't load. The applicant's browser may be too old. Recommend Chrome / Edge / Safari from the last 2 years.
- "This link is expired." Send a fresh invite.
Step 3 — Email OTP (conditional)
If the applicant isn't pre-verified on email, we send them a 6-digit code by email. They enter the code on the page to prove they own the email address.
Skip this step by ticking Email already verified when you create the request.
What can go wrong
- Code email lands in spam.
- Code expires (10 minutes). They click Resend code.
- Their email account doesn't accept our sender. Edge case; usually resolved by adding our sender to the safe list.
Step 4 — Phone OTP (conditional)
If the applicant provided a phone and isn't pre-verified, they receive an SMS code. Same pattern as email OTP.
Skip with Phone already verified.
Step 5 — Upload documents
This is the main event. The page shows a wizard with one step per required document:
| Step | Applicant does |
|---|---|
| Pick ID type | If the form has a document selector, they pick from passport / driver's license / national ID / etc. |
| Photo front | They upload or take a photo of the front of the ID. |
| Photo back | If the chosen doc is two-sided, same again for the back. |
| NFC chip read | If enabled, the applicant uses their phone's NFC reader to dump the ID's secure chip. (Most modern e-passports.) |
| Selfie | They take a selfie with the front camera; it's matched against the photo on their ID. |
| Live face check | When your organization uses Microsoft Azure Face or Amazon Rekognition liveness, a short live check follows the selfie: the applicant faces the camera (and may be asked to move their head in poor light) so the provider can confirm a live person — not a printed photo, a screen or a mask. |
Devices
- Mobile is preferred — better cameras, NFC reading. The applicant can scan a QR code on the desktop page to continue on their phone if they started on desktop.
- Desktop with webcam also works for selfie + ID photos but skips NFC.
The live face check
The live face check is added automatically next to the selfie on every form and on the hosted verification page — you don't have to add it to your forms. The result is read directly from the provider by our servers (the applicant's browser never decides it), and it only counts when:
- the check was started for this verification and used once,
- the face the provider checked matches the selfie, and
- the check's integrity code matches (Azure).
A verification without a confirmed live face check is never approved automatically: it is escalated for review with the reason Liveness check not completed. Liveness is performed by Microsoft Azure AI Face Liveness or Amazon Rekognition Face Liveness, both tested by iBeta to ISO/IEC 30107-3 Level 1 and 2.
Instant date check
As soon as a document is uploaded, Certivant reads its date and applies your verification settings right away — so the applicant fixes a problem while they're still on the form:
- Expired / too old — a red message explains the problem and asks for a current document. If you've enabled Allow applicants to upload expired documents, an "Upload this document anyway" checkbox lets them proceed after confirming.
- Date can't be read — an amber message asks for a clearer copy where the expiry or issue date is visible. They can still proceed; the request is flagged for a reviewer.
What can go wrong
- Camera permission denied. They have to re-grant in browser settings.
- ID photo blurry — our OCR rejects it and asks for a retake. The applicant retakes within the same flow; no need to restart.
- The live face check doesn't pass — they see why (lighting, face covered, camera blocked…) and try again.
- The live face check can't run at all (the provider is unavailable) — the applicant continues normally; the verification is sent to a person instead of being approved automatically.
Step 6 — Custom form fields (conditional)
If you attached a form to the request, custom fields appear after document upload — phone number, address, source of funds, business questions, beneficial owners list, etc.
What can go wrong
- They get confused by required fields they don't have data for. Field labels and helper text should be plain language; if they're not, edit the form in the forms builder.
Step 7 — Submit
Final page summarises what they uploaded. Big Submit verification button.
After clicking, they see the processing screen — a friendly spinner with copy like "Hang tight, we're verifying your documents. This usually takes under a minute."
Step 8 — The decision
Three possible outcomes:
| Outcome | What the applicant sees |
|---|---|
| Approved | Green checkmark page: "Your identity has been verified." Optional CTA to a Success URL you configured. |
| Rejected | Red page: "We weren't able to verify your identity." Generic — no detailed reasons — to discourage gaming the system. Suggests contacting your team. |
| Under review | Amber page: "We need a closer look — we'll be in touch within 1–2 business days." This is the escalated status. |
A confirmation email arrives shortly after (within minutes) summarising the outcome.
Reupload / resubmission
If a document was rejected for quality and you sent a resubmission request (see KYC list & detail), the applicant receives a second email with a fresh link. They go through only the specific documents you flagged — not the whole flow.
Live ID variant
If you scheduled a live conference, the applicant gets a different email with a join link. The same browser-based page is the entry point; instead of upload wizard they enter the video room.
Languages
Applicant pages (the verification page, public forms, the Live ID capture page and the sharing consent page) have a language picker in the header. Besides English, French, German, Spanish and Italian they offer Portuguese, Dutch, Polish, Romanian, Turkish, Arabic (right-to-left), Simplified Chinese, Japanese, Korean, Hindi, Vietnamese, Indonesian, Russian, Ukrainian and Swedish.
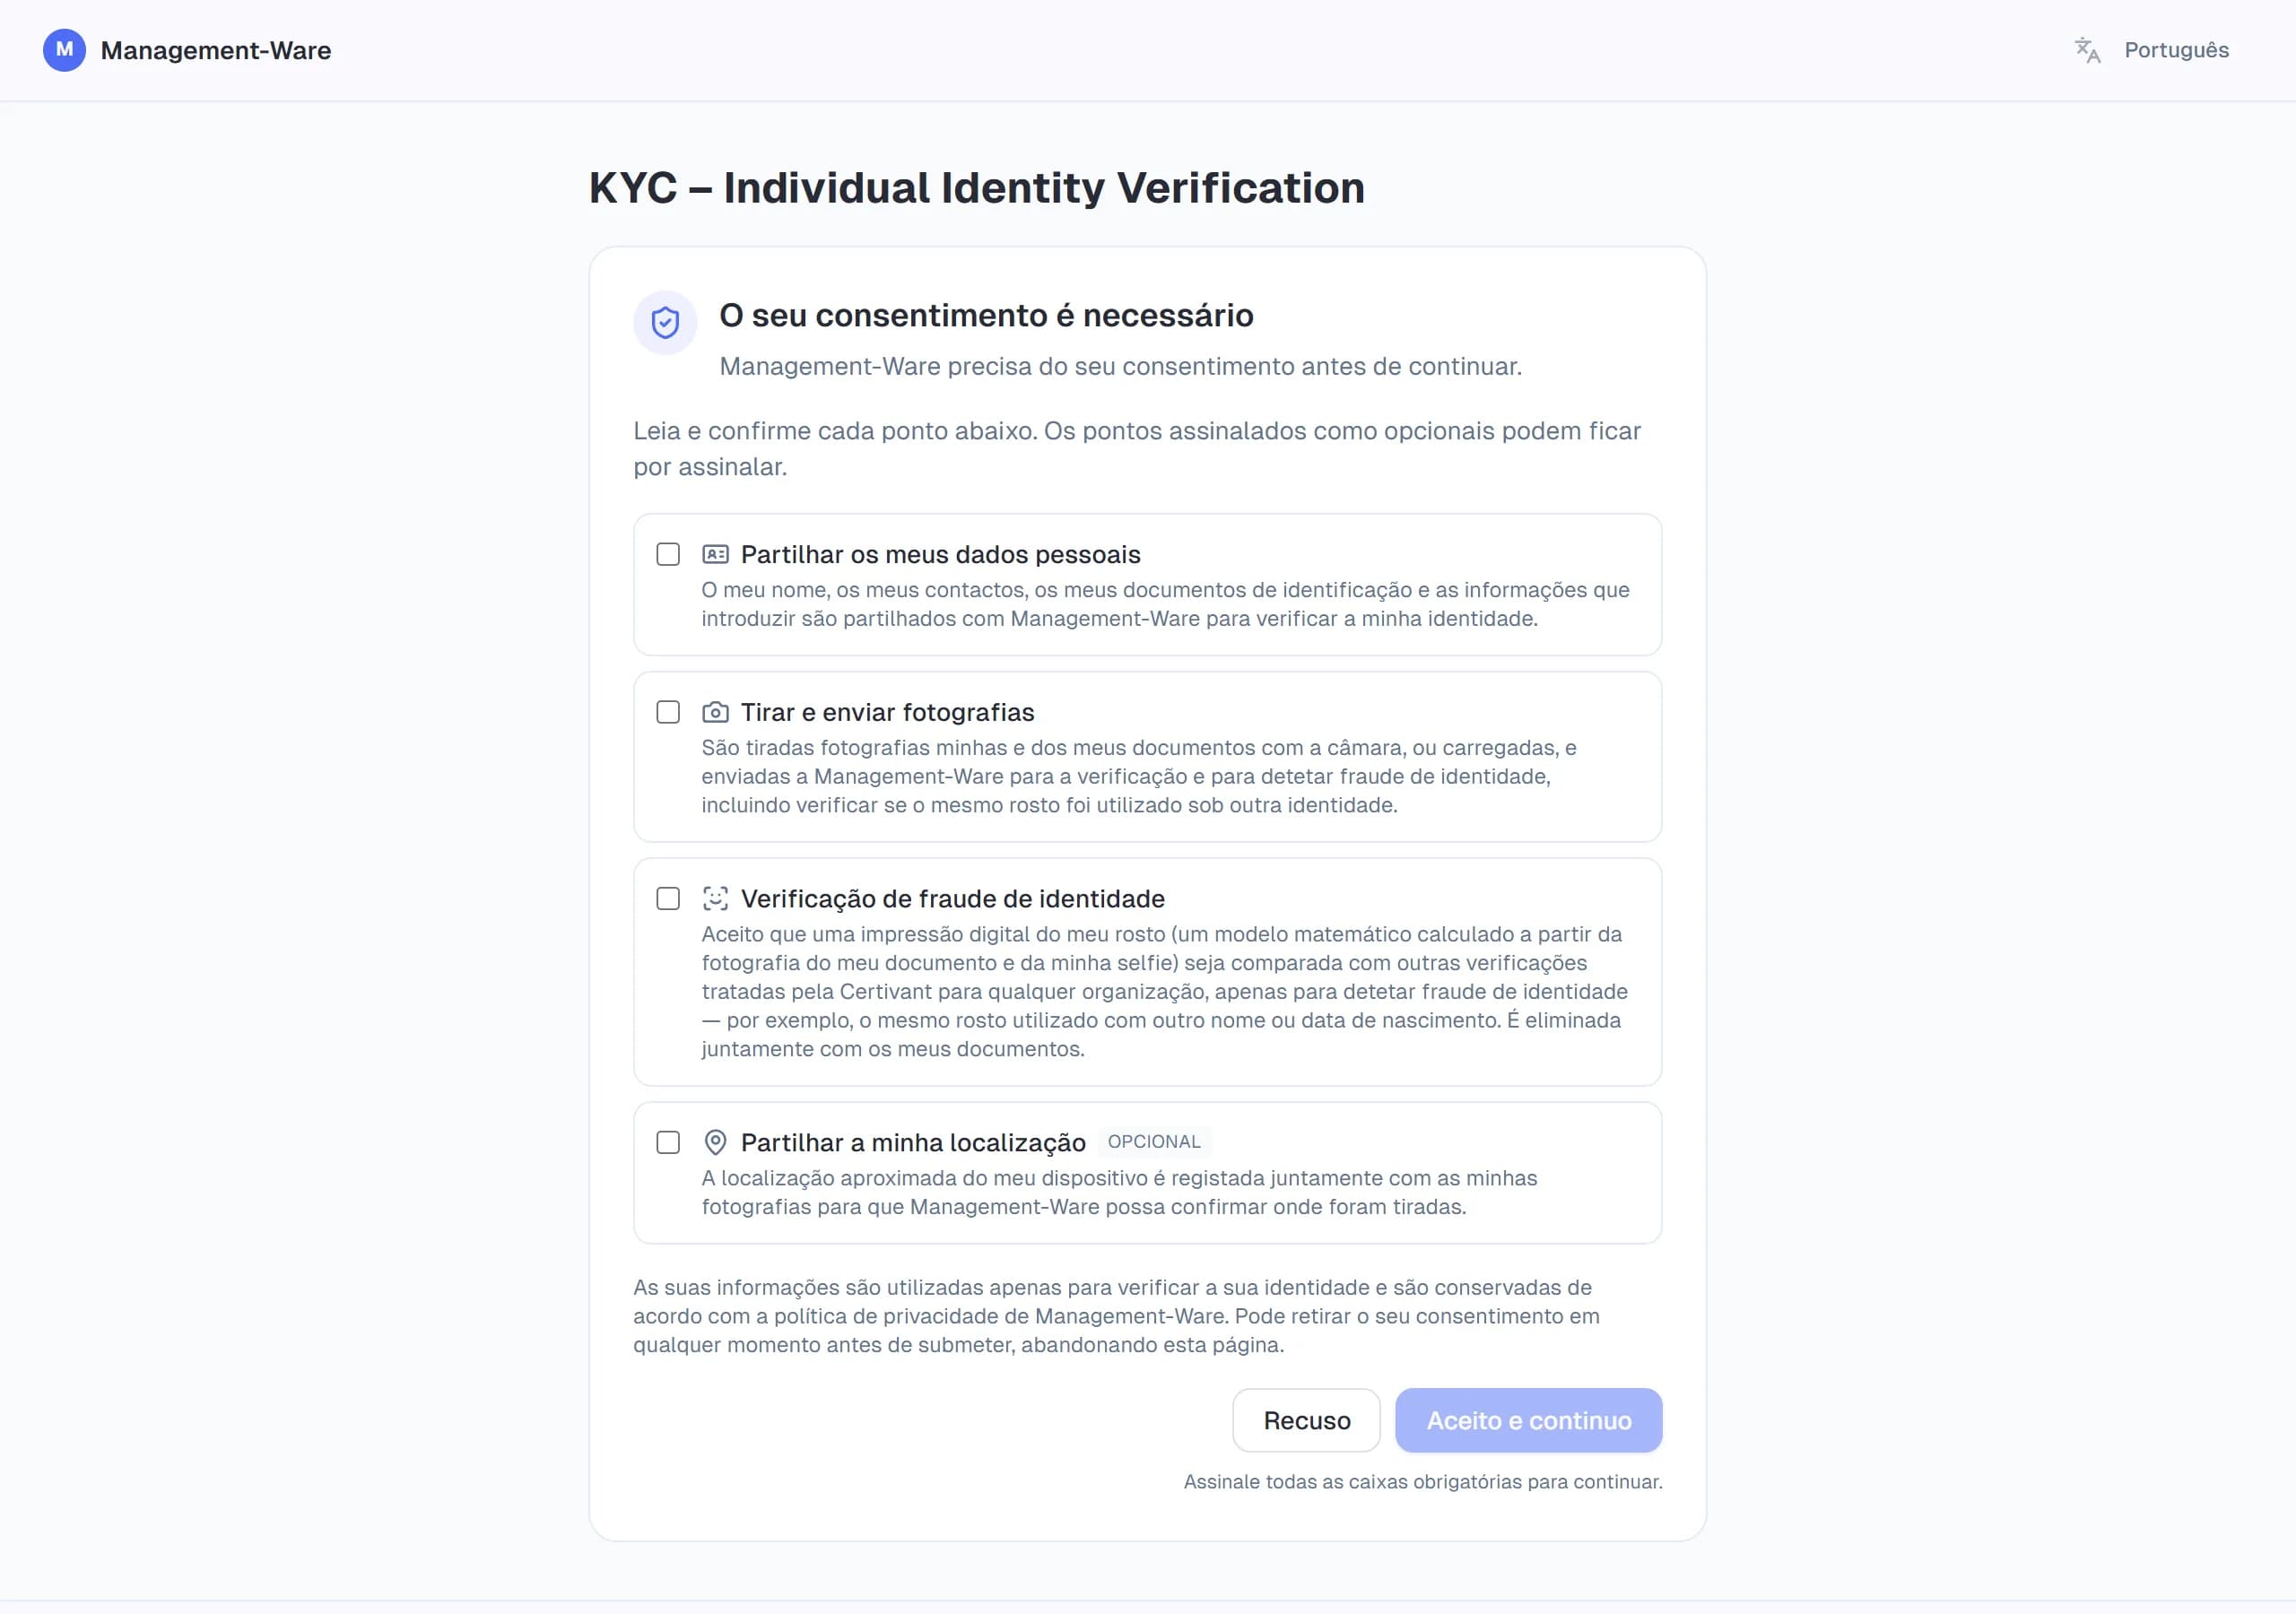
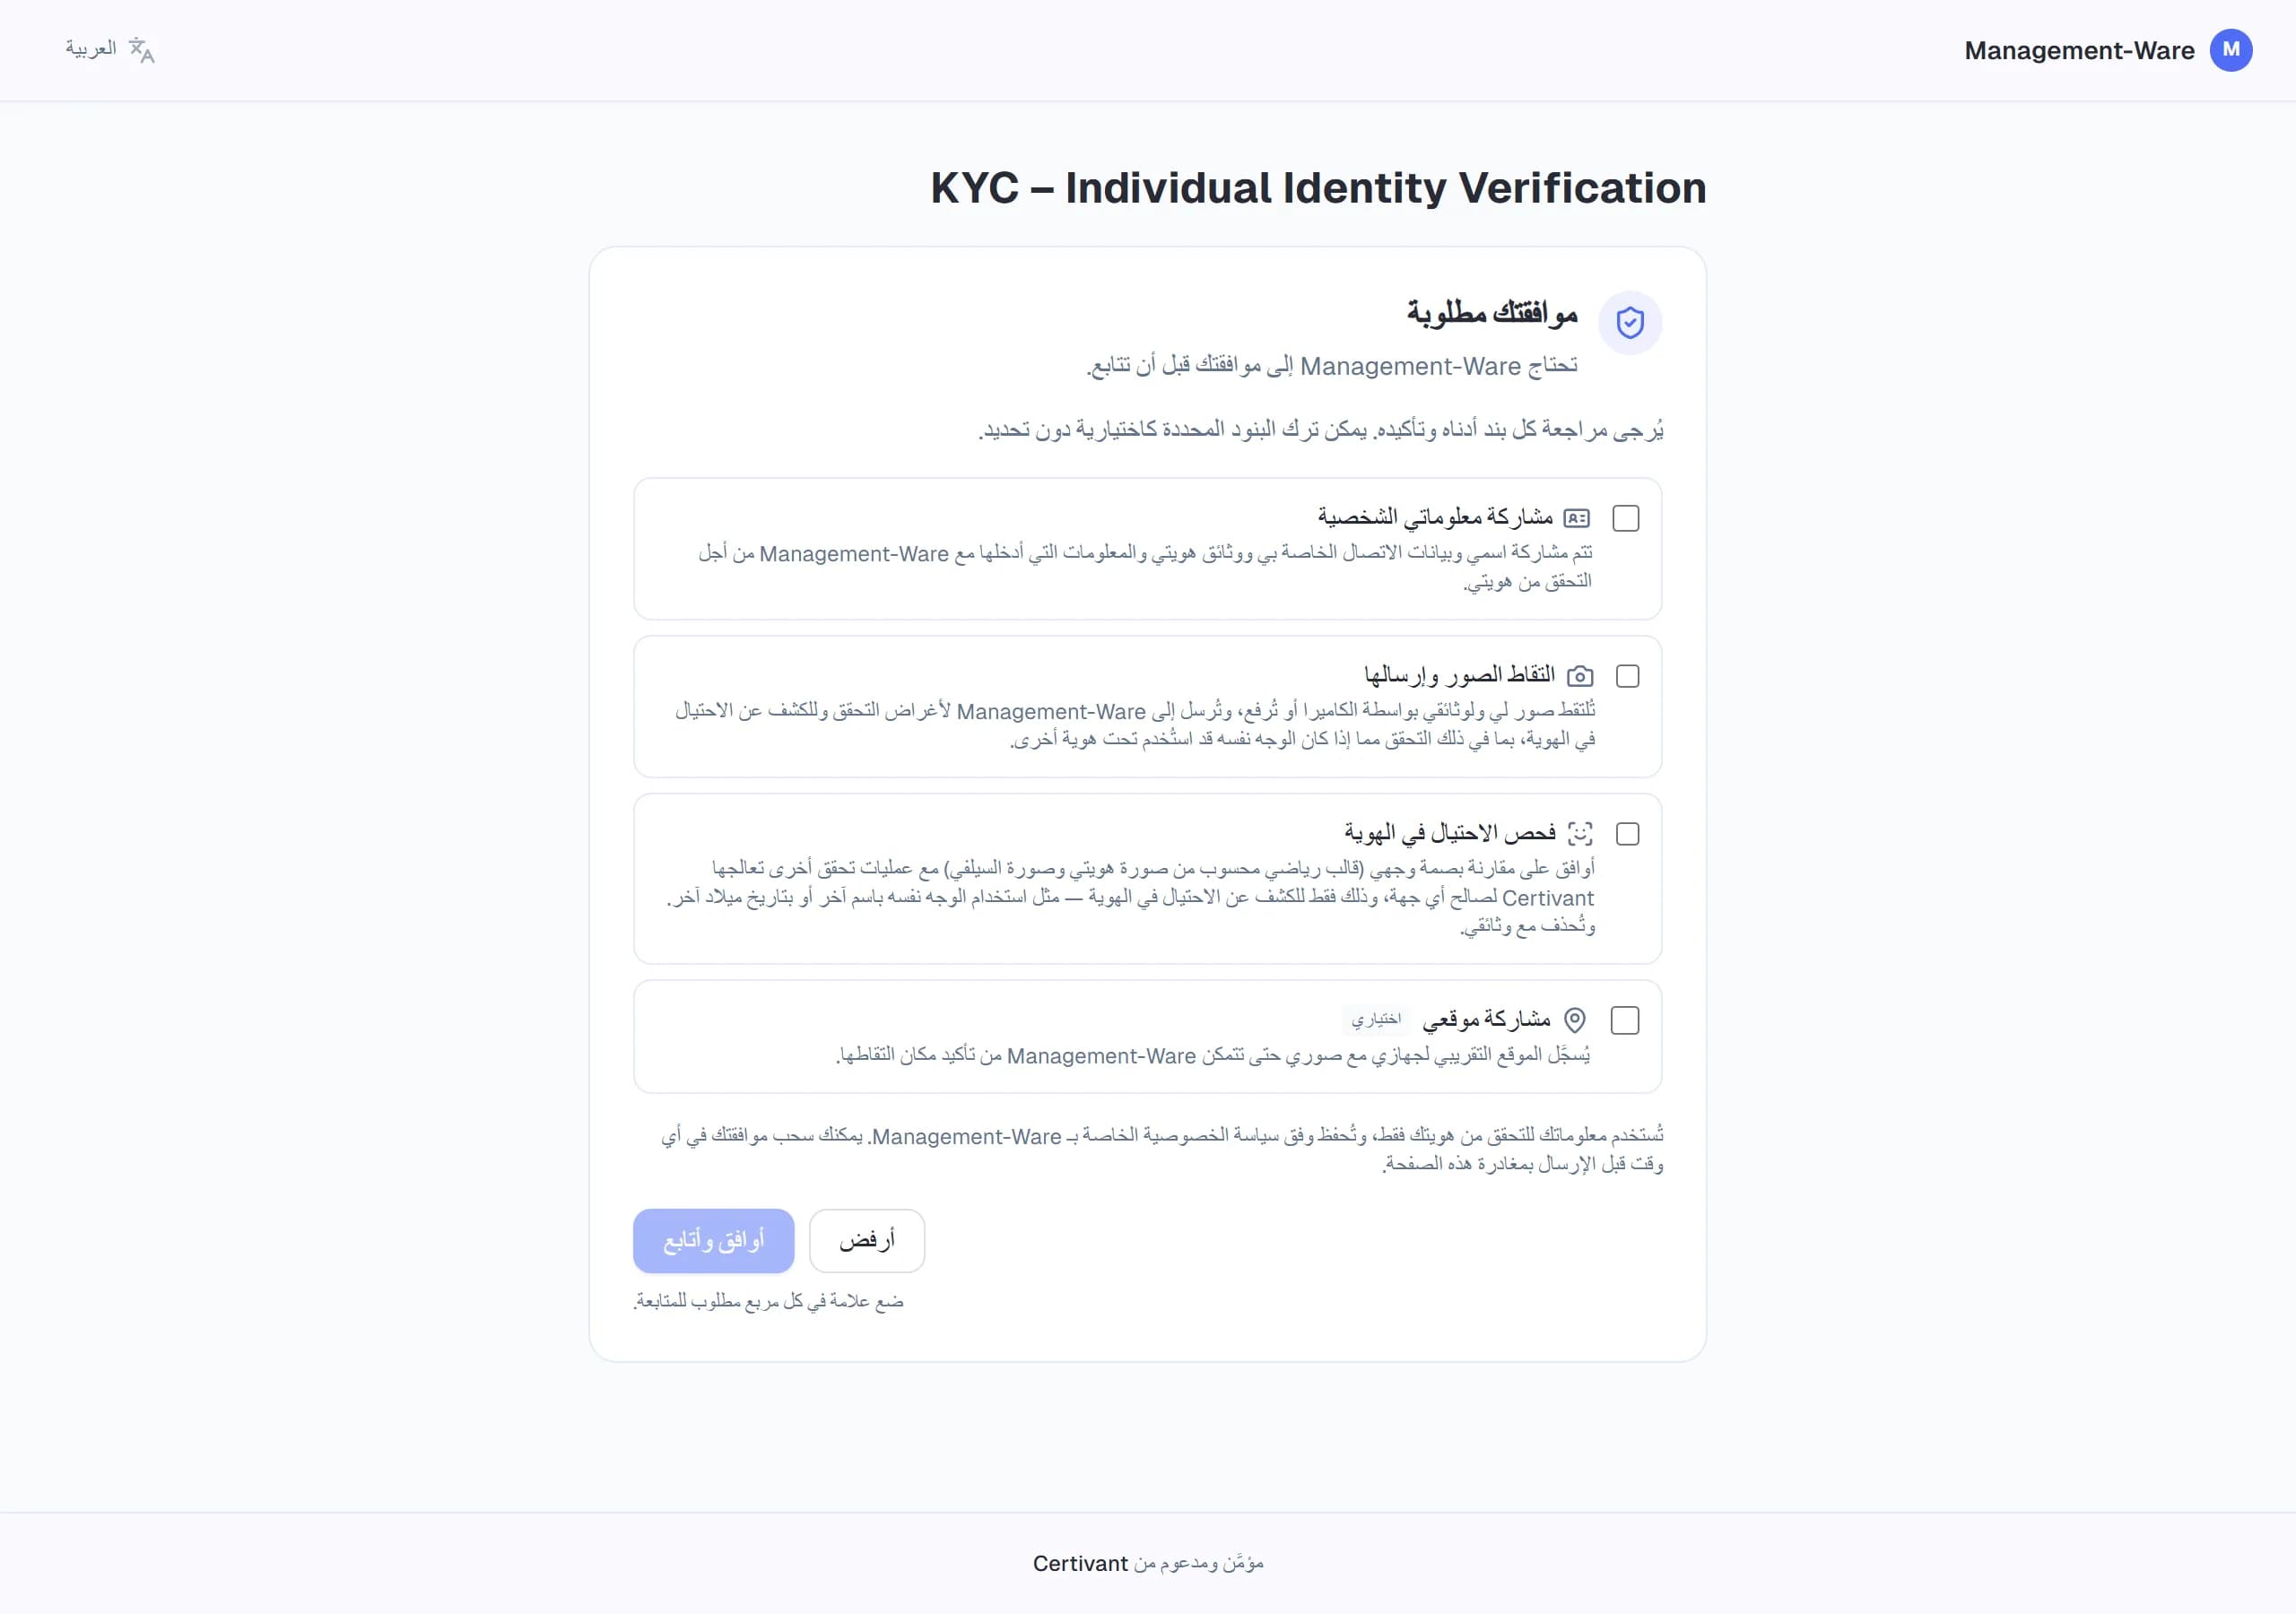
- The extra languages cover everything an applicant receives or reads: the screens, the emails and SMS you send them (invitation, reminders, verification codes, decisions, live-call invitations, cancellations, the "why was this decided" page, data-deletion confirmations) and the default privacy notice. The dashboard and the messages your own team receives stay in the five main languages. Any text that has no translation in the applicant's language is shown in English.
- Pick the language of a message when you send it (the Language field of the send and schedule dialogs, or
language/preferredLanguagein the API); it is saved as the applicant's language and every later email or SMS follows it. Without a choice, the applicant's own page language is used, then your organization's default communication language (Settings, KYC communication languages), then English. - Texts that have not been reviewed by a lawyer: the Certivant default privacy notice in the extra languages is a faithful translation of the English notice but has not been legally reviewed. Have it reviewed for the countries you operate in, or write your own notice (which you can still write in the five main languages; a language you did not write falls back to your own text, never to the Certivant notice).
- SMS in Arabic, Chinese, Japanese, Korean, Hindi, Russian, Ukrainian, Polish, Romanian, Turkish and Vietnamese are sent as Unicode text, which carriers split into shorter segments (70 characters). The built-in texts are short; if you override an SMS text, keep it short too.
- A public form link can open in a given language by prefixing its path, for example
/pt/forms/your-form. - Texts you write yourself (form labels, custom messages) are shown as you wrote them.
When the verification can't be completed
If your organization has no credit left and is not set to continue without credit, applicants who open a verification link, a public form or a Live ID validation page — or who press submit — see a page titled "This verification can't be completed right now" with the text "Please contact" followed by your organization's name. Your organization's white-label name and logo are shown; when there is no name, the page says "the organization that sent you here".
The page is deliberately vague: it never mentions credit, billing or money, only whom to contact. Once your organization can accept verifications again, the applicant can try again. Your owners and admins are told separately (a notification and an email, at most once a day) — see Billing & credits.
Helping a stuck applicant
When they call you confused:
- Ask which step they're on. Match it to this page.
- Common quick wins:
- Browser too old → recommend Chrome / Edge.
- Camera permissions → walk them through browser settings.
- "Link expired" → check, then resend from the dashboard.
- If they're really stuck, schedule a Live ID session — you can do the verification face-to-face and bypass the self-service flow.
Related
- Send a verification request — your half of the flow.
- White-label basics — make the applicant experience feel like your brand.
- Live ID conferences — when self-service isn't working.
Age check
Check that an applicant is old enough using a selfie age estimate, with an automatic fall back to the date of birth on their ID when the estimate is too close to call.
Design a risk policy
Use the Certivant visual Workflow Policies Designer to build custom KYC/KYB decision rules — conditions, thresholds, and approve/reject/escalate outcomes — then simulate and publish versioned policies.