Design a risk policy
Use the Certivant visual Workflow Policies Designer to build custom KYC/KYB decision rules — conditions, thresholds, and approve/reject/escalate outcomes — then simulate and publish versioned policies.
What it does
The Workflow Policies Designer lets you decide how a verification is approved, rejected, or sent for manual review — visually, without code. You drag rule blocks onto a canvas, set conditions on the signals each verification produces (trust score, sanctions match, document checks, applicant country, network risk, live-camera proof, and more), and connect them to Approve, Reject, Escalate or Require live verification outcomes.
Every organization starts with a built-in default policy that reproduces Certivant's standard 17-factor trust-score decision exactly. So turning the feature on changes nothing until you choose to customise it — your existing results stay identical.
The default policy is byte-for-byte equivalent to the standard scorer. You can view it, clone it, and edit the copy — the original keeps running until you publish your own version.
Before you start
- Your plan must include the Workflow Policies Designer (Pro or higher). If the Workflow Policies item in the Developer menu shows a “Requires Pro” badge, ask your account owner to upgrade — see Billing & credits.
- You should understand how a verification is scored, so you know which signals to write rules against. See Review verification requests.
- Publishing a policy changes how future verifications are decided for your whole organization. It does not re-decide past requests.
Key concepts
- Nodes — the blocks on the canvas. A Start node begins the flow; Condition nodes hold the rules; End nodes are the outcomes (Approved / Rejected / Escalated / Manual review / Require live verification / Hand off to another policy). Action nodes (Form, ID Validation, Email, SMS, Webhook, Live Conference) document orchestration steps around the decision — to run steps, use Automation Workflows.
- Conditions — a Condition node tests the verification's signals, e.g.
overallScore >= 75,sanctions.isMatch = true,applicant.country IN ["IR","KP","SY"]orredFlags CONTAINS "network_vpn_detected". You can combine tests with AND / OR / NOT and nest groups — including conditions chained behind other conditions on the canvas. - First match wins — rules are evaluated top-to-bottom from Start; the first Condition whose test is true supplies the decision. A final fall-through captures everything else (it fails safe to Escalate, never a silent approve).
- Reasons — give a condition a reason (e.g. "High-risk country"). It's recorded with the decision, so a reviewer sees why the request was escalated, not just which rule fired.
- Versions — every saved policy is a draft until you publish it. Publishing freezes that version (it becomes immutable) and makes it active; the previously-active version of that policy is archived. To change a published policy click New version — so you always have a full, auditable history.
- Where it applies — a published policy decides the requests of every form that pins it. Make one policy the organization default to have it decide every other request too, including requests created through the API. With neither, Certivant's built-in default decides.
Steps
Open Workflow Policies
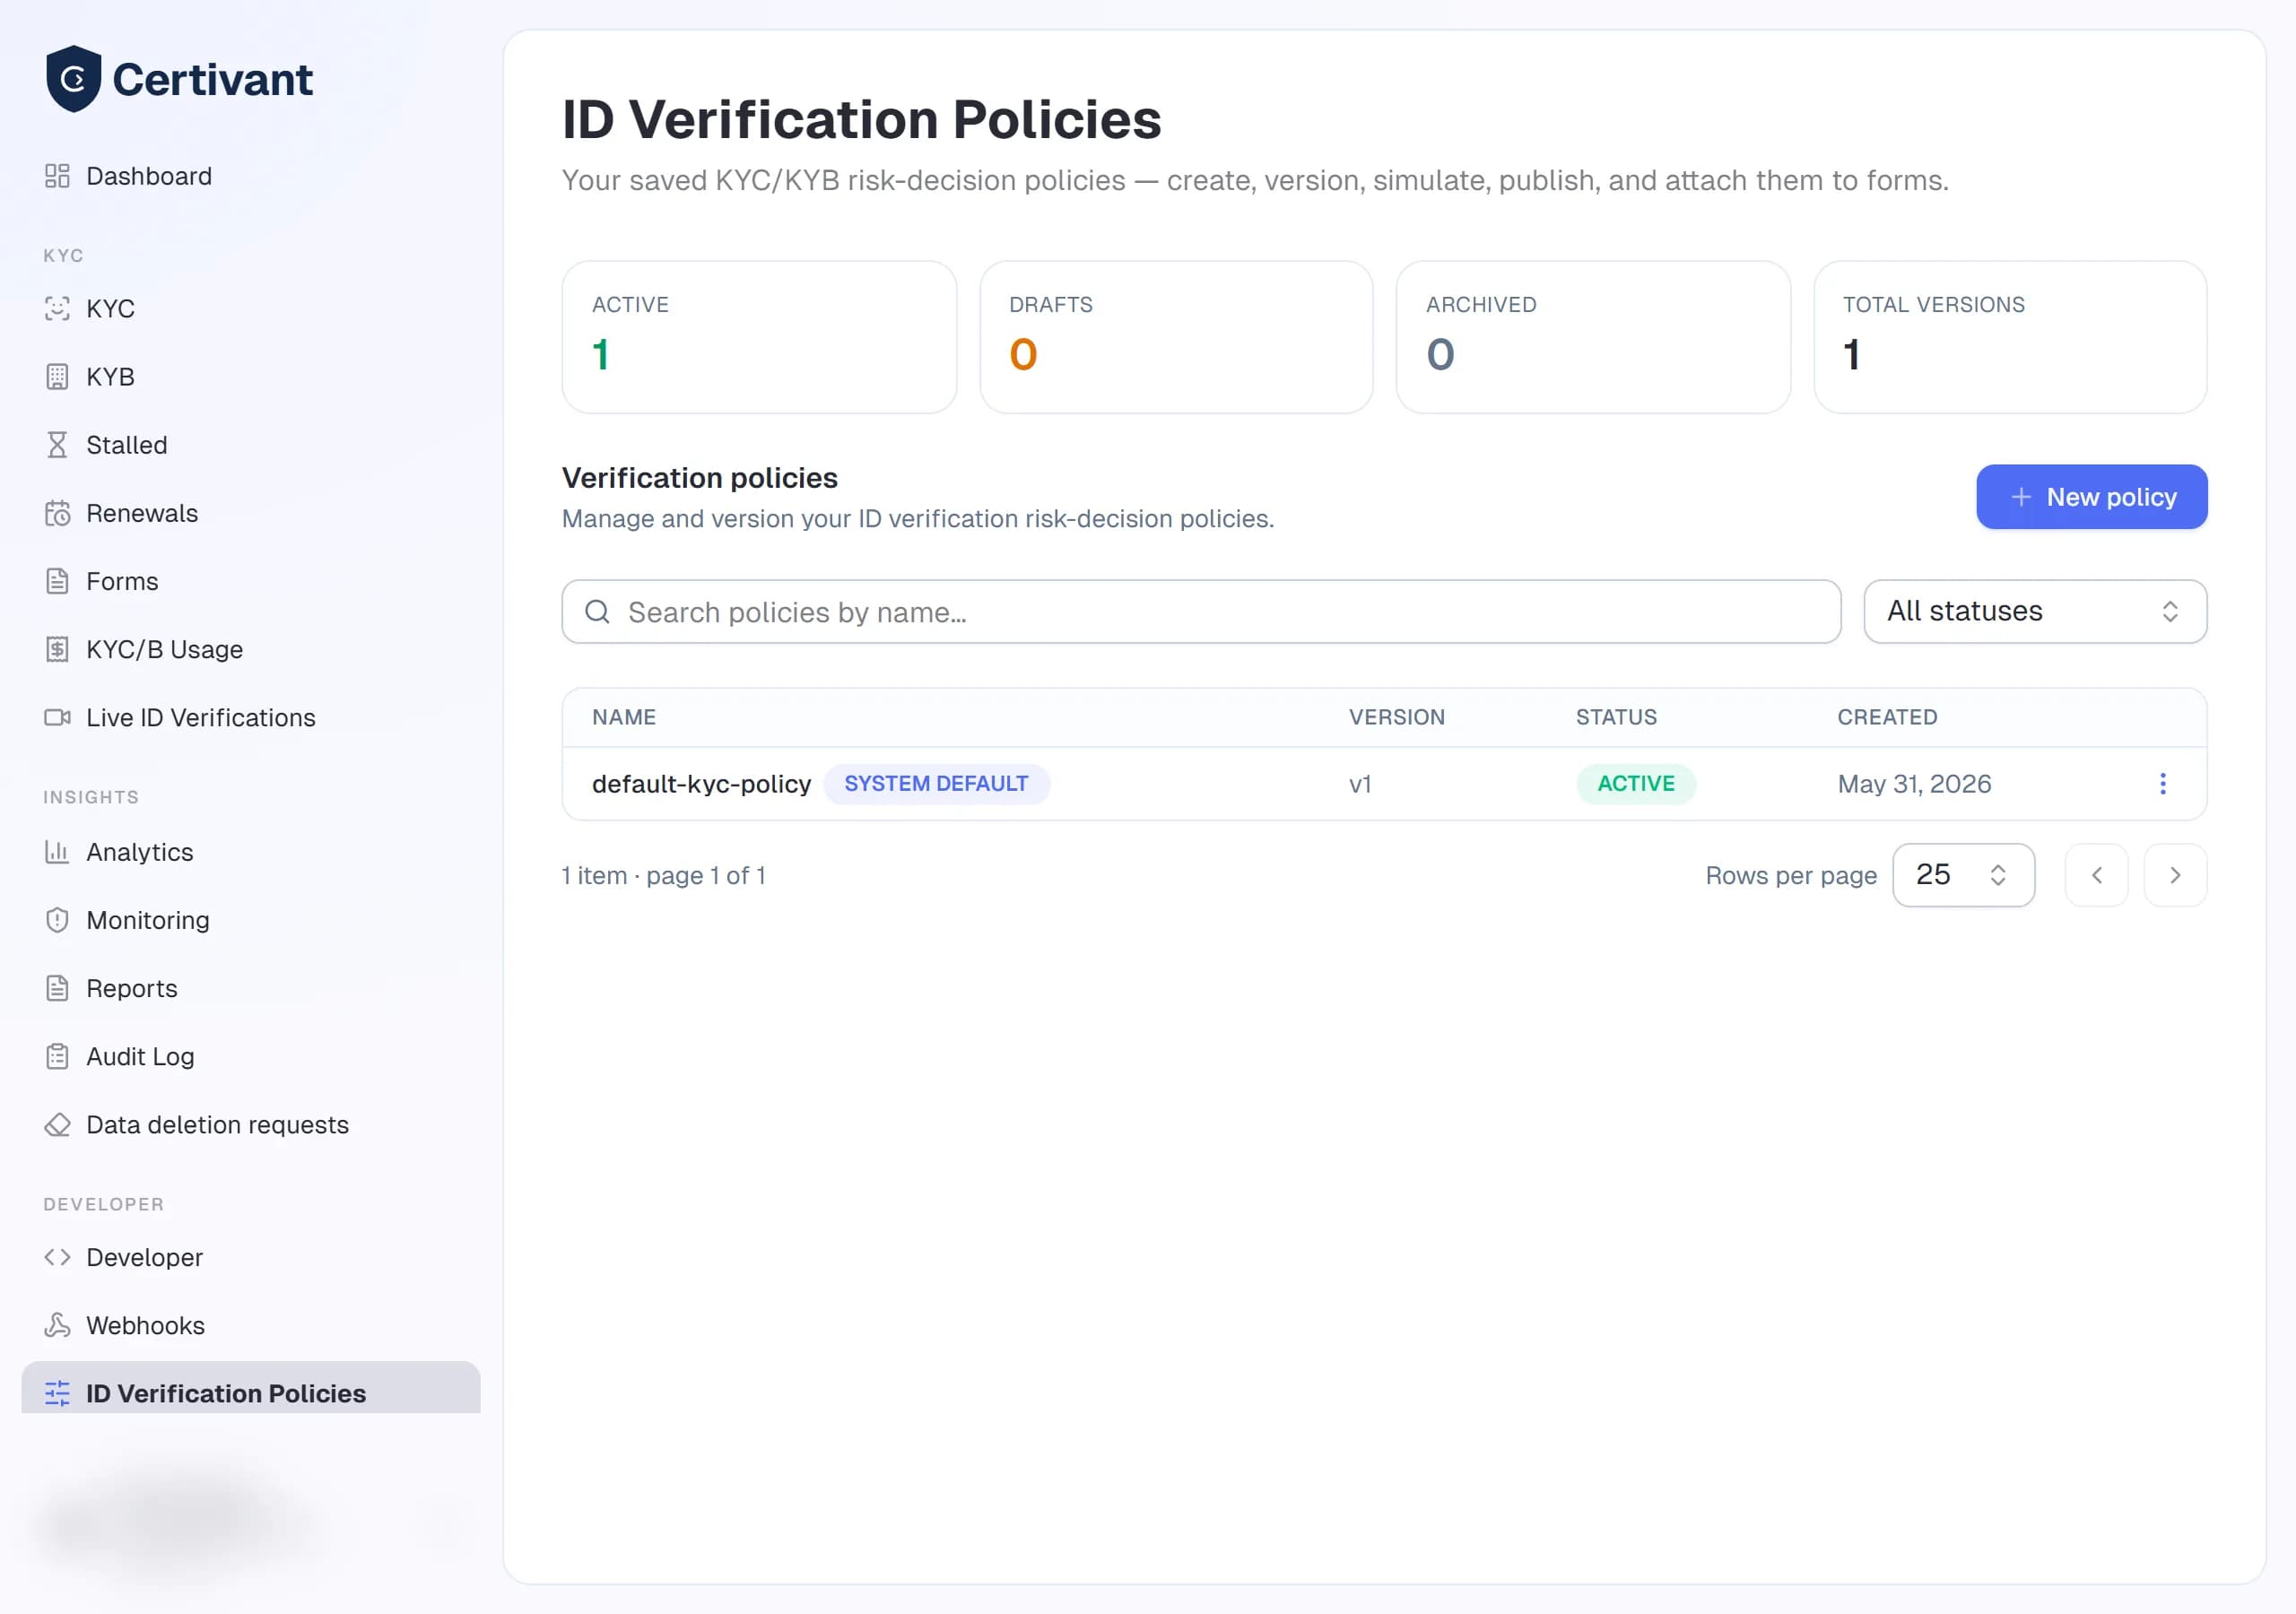
Click Developer → Workflow Policies in the left sidebar. This opens the Workflow Policies dashboard — stats cards (active / drafts / archived / total versions) above a table of every saved workflow. Each row is a versioned policy; the active one is what currently decides your verifications.
Open or create a workflow
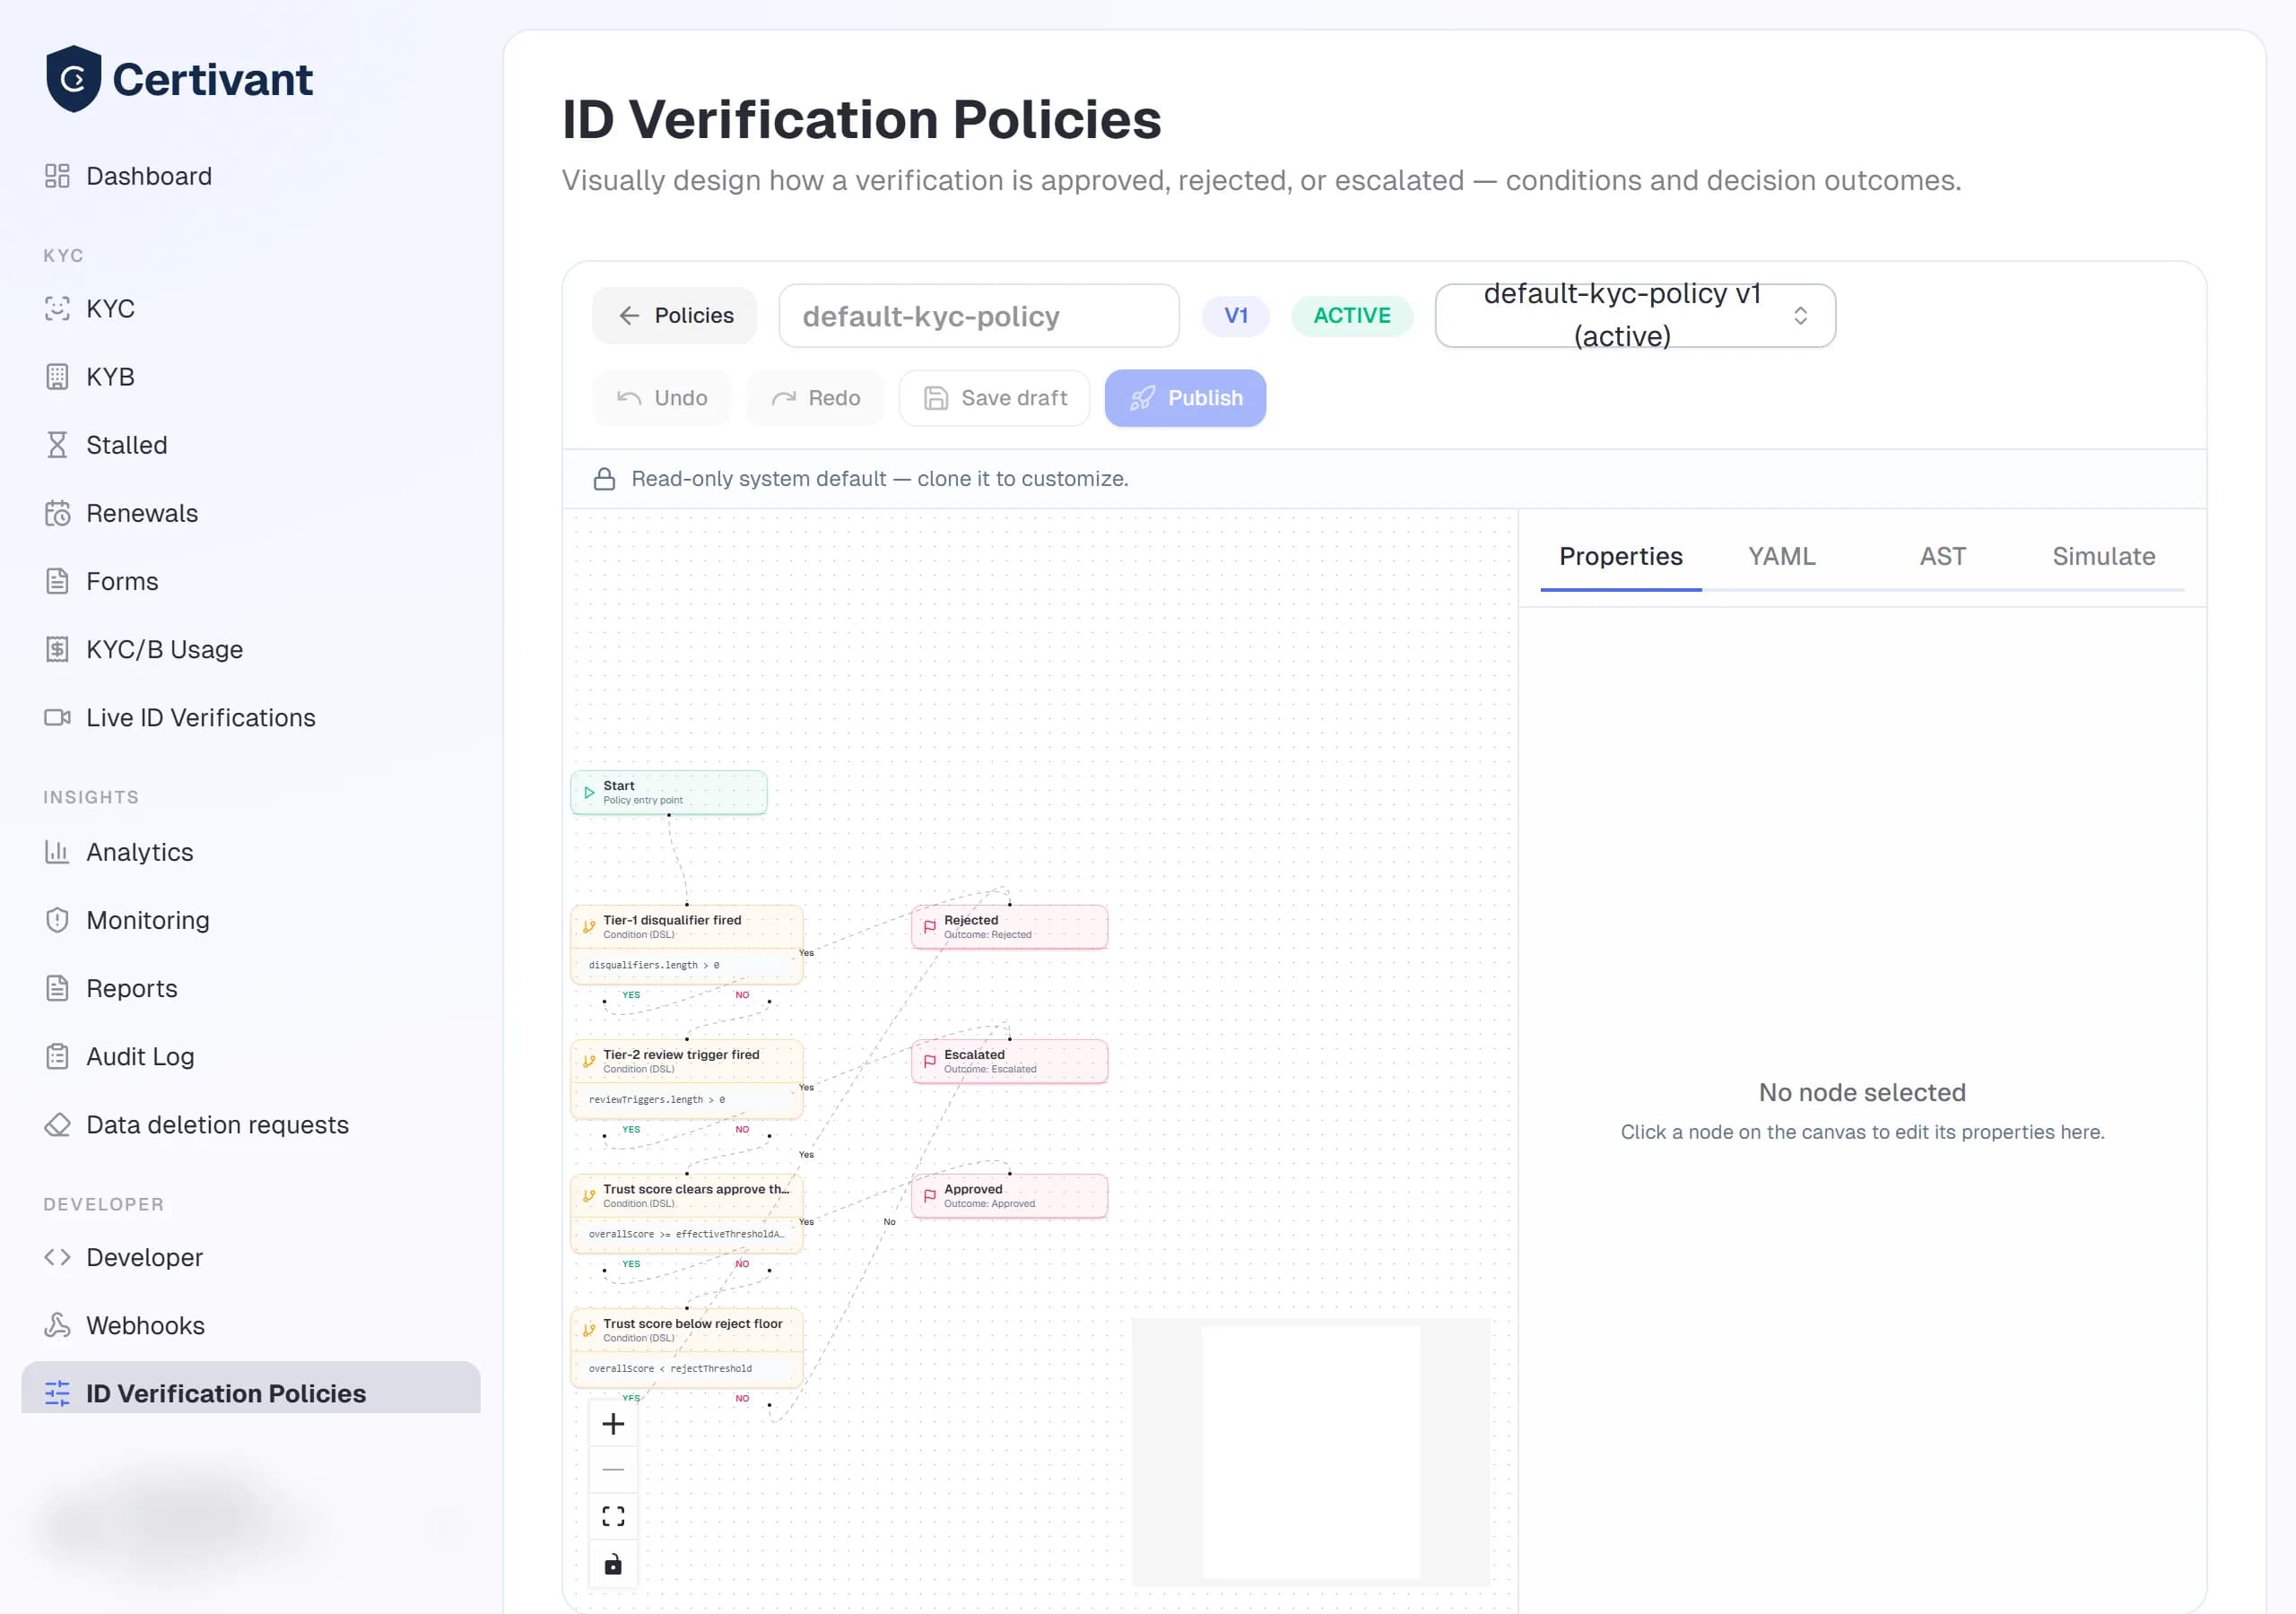
Click a workflow's name in the table to open it in the canvas editor, or click New workflow to start a fresh one seeded from the platform default template. Give it a clear name (top-left field) — this is what you'll re-type to confirm publishing later. Use the ← Policies link to return to the dashboard, or the Load policy dropdown to switch versions without leaving the canvas.
Add and configure a condition
Drag a Condition block from the palette onto the canvas, then click it to select it — its settings open in the Properties tab of the right-hand pane (so the canvas stays fully draggable). Build the test with the visual builder:
- Field — pick a signal (e.g.
overallScore,sanctions.isMatch,applicant.country,checks.liveness.confidence). - Operator —
=,!=,>,>=,<,<=, IN / NOT IN a list, or CONTAINS / NOT CONTAINS (a list holds a value, or a text holds a word). - Value — a number, text,
true/false, or a list of values. ForredFlags,notices,reviewTriggersanddisqualifiersthe value box suggests the codes Certivant uses. - AND / OR / NOT — add nested groups for compound logic.
The field list covers every signal in Signals you can test below.
Prefer raw rules? Toggle the Raw DSL tab in the condition editor to type the expression directly — it round-trips with the visual builder, and a red badge flags any syntax error.
Connect outcomes
Draw a connection from the condition's Yes (true) branch to the End node for the decision it should produce (Approve / Reject / Escalate / Require live verification), and chain the No (false) branch to the next condition. The final fall-through goes to your default outcome.
To hand off to another policy, pick an End node's Delegate outcome and choose one of your active policies; the other policy then decides. A policy can't hand off to itself.
Simulate before you publish
Open the Preview pane. It shows the live YAML (and AST) of your policy. Switch to Simulate, paste a sample verification payload (or tweak the example), and run it. You'll see the resulting decision, the rules that fired, and a per-rule trace highlighting which row won — mapped back to the matching node on the canvas. When a rule hands off to another policy, the result also shows the final decision and the chain of policies it went through.
Save the draft once (next step) to enable Simulate. From then on it runs what is on the canvas, unsaved edits included, exactly as the live engine would.
Save the draft
Click Save draft. This stores both the canvas layout and the compiled rules. Drafts are fully editable and have no effect on live verifications.
Publish to activate
Click Publish. A confirmation dialog asks you to re-type the policy name to arm the button — this is deliberate, because publishing:
- freezes this version (it can no longer be edited), and
- makes it the active version of this policy, archiving its previously-active version.
Forms that pin this policy use the new version right away. Existing requests are unaffected.
Choose where it applies
- On a form — in the form's settings, pick this policy as its decision policy. Only that form's requests use it.
- Everywhere else — click Use for all requests in the editor toolbar. The button turns into Organization default and the policy now decides every request whose form doesn't pin a policy, API requests included. Click it again to go back to the built-in default.
The policies list marks the organization default with a badge.
What triggers your policy
A workflow policy runs automatically — there is no separate “run” button, and you don't trigger it by hand. Two things arm and fire it:
- Publishing arms it. When you Publish a policy, that version becomes active (one active version per policy; publishing archives the previous one). It decides the requests of every form that pins it — and every other request too once you make it the organization default.
- Each new verification fires it. Whenever a verification runs — an applicant submits their documents, you send a verification request, or a reviewer hits Re-Verify — Certivant runs the full check pipeline (OCR, biometrics, sanctions, fraud, network and capture checks, the 17-factor trust score) and then hands the results to the deciding policy. The policy's verdict (Approve / Reject / Escalate / Require live verification) becomes the request's final status.
Which policy decides a request, in order:
- the policy its form pins;
- otherwise your organization default policy;
- otherwise Certivant's built-in default.
A pinned or default policy with no active version (e.g. you archived it) falls back to the built-in default — never to some other policy.
flowchart LR
    A[Applicant submits<br/>verification] --> B[Checks run:<br/>OCR · biometrics ·<br/>sanctions · fraud]
    B --> C[17-factor<br/>trust score]
    C --> D{Active policy<br/>evaluates the<br/>score + signals}
    D -->|first matching rule| E[Approve]
    D --> F[Reject]
    D --> G[Escalate to<br/>manual review]
If you haven't published a custom policy, the built-in default policy runs instead — so every verification is always decided by some policy. Turning the feature on changes nothing until you publish your own version.
Publishing affects future verifications only. It does not re-run or re-decide requests that were already completed — those keep the decision made by the policy that was active at the time. To re-decide an individual request under the new policy, open it and use Re-Verify.
How it changes your verifications
After you publish, every new verification is decided by your active policy instead of the built-in default. For each request, Certivant records:
- the policy id, name, and version that decided it, and
- the list of rules that fired —
both on the request's audit trail and in the webhook payload (data.policy on kyc.request.approved / rejected / escalated). That lets your downstream systems see which policy and which rules drove every decision. See Webhooks.
When a later safeguard changes the policy's outcome — a KYB request still waiting on its registry check, or a request in test mode — the audit trail records that override and the final status, so the trail never shows a decision that didn't stick.
Require live verification
Pick Require live verification as an End node's outcome to send a request to a video call instead of deciding it on the documents alone — for example when the score is borderline, the applicant is on a VPN, or the selfie wasn't proven to come from the live camera:
overallScore >= 60 AND overallScore < 80 → Require live verification
network.vpn = true OR capture.tokenMismatch = true → Require live verification
The request goes to Escalated, and its page shows a Live ID verification required banner with the rule's reason, so your team knows to book the call. The webhook carries data.policy.decision = "live_verification" and liveVerificationRequired: true.
To book the call automatically, add an Automation Workflow on the Live verification required trigger with the Schedule a live ID verification action. Once the host records a decision in the call, the request is approved or rejected and the usual approved / rejected events fire. Re-verifying afterwards, the policy can read the call's result — e.g. liveVerification.hostDecision = "approved" — so a rule can approve a request that passed its live check.
Signals you can test
Besides the trust score and the per-check results (checks.*, sanctions.*, document.*, applicant.*), a condition can read:
| Area | Fields |
|---|---|
| Network | network.detected, network.vpn, network.proxy, network.tor, network.hosting, network.relay, network.country, network.realNetworkRevealed, network.realNetworkCountry |
| Live camera proof | capture.liveCamera, capture.signals, capture.tokenMismatch, capture.locationRefused |
| Fraud | fraud.signals, fraud.duplicateDocument, fraud.duplicateDevice, fraud.duplicateIp, fraud.duplicatePhone, fraud.duplicateEmail, fraud.velocityExceeded, fraud.blocklistMatch, fraud.blocklistKinds (which types matched your blocklist, e.g. fraud.blocklistKinds CONTAINS "ip") |
| Document reading | document.secondOpinion.used, document.secondOpinion.disagreed, document.readConfidence, document.daysUntilExpiry, document.tooOld, document.dateUnverifiable, document.dlNumberMismatch (the driver's-licence number doesn't fit the holder's surname and date of birth — see Fraud signals) |
| Corrections & barcode | corrections.manual, corrections.fields, barcode.read, barcode.mismatches |
| Age check | age.checked, age.result (pass / fail / inconclusive), age.method (estimate / id_document / none), age.estimatedAge (an estimate from the selfie, not proof of age), age.minimum, age.meetsMinimum, age.mismatch. See Age check |
| Applicant | applicant.age, applicant.highRiskSources |
| Sanctions | sanctions.pep, sanctions.adverseMedia |
| KYB | kyb.status, kyb.representativeMatch, kyb.directorSanctionsHit |
| Live ID verification | liveVerification.held, liveVerification.requested, liveVerification.status, liveVerification.hostDecision, liveVerification.completed, liveVerification.applicantAttended, liveVerification.absentCount, liveVerification.guestCount, liveVerification.coHostCount, liveVerification.observerCount, liveVerification.recorded, liveVerification.applicantNetworkRisk, liveVerification.durationMinutes |
| Codes | redFlags, notices, reviewTriggers, disqualifiers — lists of codes, tested with CONTAINS |
A field the request doesn't have (no call held, no barcode read…) never matches — not even !=, NOT IN or NOT CONTAINS. So document.issuingCountry != "US" is false when no document was read, rather than quietly true.
Options & fields
| Concept | Values | Notes |
|---|---|---|
| Decision outcomes | approve, reject, escalate, live_verification, delegate | escalate routes the request to manual review; live_verification escalates and flags that a video call is needed; delegate hands off to another active policy. A “custom” outcome also escalates. |
| Operators | = (or ==) != > >= < <= IN NOT IN CONTAINS NOT CONTAINS | Missing signals never throw — they simply don't match, not even a negative test. |
| Boolean logic | AND, OR, NOT, nested groups | AND binds tighter than OR. |
| Policy status | draft, active, archived | Only one version is active per policy at a time. |
| Versioning | immutable on publish | New version copies a published policy into the next draft; history is preserved. |
| Organization default | one active policy, or none | Decides every request whose form doesn't pin a policy, API requests included. None = the built-in default. |
| Reserved name | default-kyc-policy | The built-in default's name; your own policies can't use it. |
Troubleshooting
I don't see "Workflow Policies" in the menu
It lives under the Developer menu and is a Pro feature. If the Workflow Policies item shows a “Requires Pro” badge, your plan doesn't include it — ask your owner to upgrade on Billing & credits. If the Developer menu is missing entirely, you may not be an admin/owner; if the item just vanished, refresh the page — the plan check is cached for a few minutes.
I can't edit a policy — the fields are locked
Published versions are immutable by design. Open the version and click New version in the toolbar: it copies the policy into the next editable draft. Make your changes and publish — the previous version keeps deciding until you do.
The Simulate button is disabled
Simulate needs the policy saved once. Click Save draft; from then on Simulate runs what is on the canvas, unsaved edits included.
My published policy doesn't decide anything
A published policy only decides the requests of forms that pin it. Pin it on the form (form settings → Decision policy), or click Use for all requests in the editor to make it the organization default.
A request was escalated with "Live ID verification required"
Your policy matched a Require live verification rule — the banner on the request shows the rule's reason. Book a live call from the request page, or automate it with a workflow (see Require live verification).
A condition shows a red "invalid" badge
The expression couldn't be parsed. Open the condition, check the field name and operator, and confirm any list values are comma-separated. The Raw DSL tab shows the exact parser message.
How do I trigger my workflow / when does it run?
You don't trigger it manually. Once it's published and pinned on a form (or made the organization default), it runs automatically on every new verification it covers — when an applicant submits documents, when you send a verification request, or when a reviewer hits Re-Verify. See What triggers your policy.
I published but nothing seems to happen
Three common causes. First, a policy only decides verifications that run after it became active — existing, already-completed requests are untouched (see below). Start a new verification (or Re-Verify an existing one) to see your policy decide it. Second, confirm the version you edited actually shows status active in the dashboard table — saving a draft does not activate it; you must Publish. Third, check that the request's form pins the policy, or that the policy is the organization default.
Publishing didn't change anything for an in-flight request
Policies only decide new verifications. A request that was already submitted keeps the decision made by the policy active at the time. Re-run it only if you intend to re-decide it — open the request and use Re-Verify.
Version history, restore and A/B tests
Every save of a published policy starts a new draft version; Publish freezes it as an immutable version and archives the one it replaces. Each decision records the exact policy id and version that took it (on the request, in the audit log and in the policy block of the webhook payload), so you can always see which version decided a verification.
Click Versions & A/B test in the editor header to:
- See every version of the policy — draft, active and archived — and open any of them read-only.
- Restore as new draft — copies an older version into a new draft of the same name. Publish it when you want it live. Nothing that was published is ever changed.
- Run an A/B test — compare the active version (variant A) with a challenger (variant B, a draft or an older version of the same policy). Choose the share of new verifications that go to B (0–100 %); the rest stay on A. The split is automatic and stable: a verification always lands on the same variant, even if it is re-run.
While a test runs the challenger draft is frozen (editing it would invalidate the comparison). The Results table shows, per variant, how many verifications were routed, the share approved, rejected and escalated, and how many reached a decision. The approval-rate comparison only says "significant" once each variant has at least 30 decided verifications. To adopt B, publish the challenger — the test ends automatically. To abandon it, click Stop test; every new verification goes back to the active version.
Only one test can run per policy at a time, the built-in default policy can't be tested (clone it under a new name first), and the policy is still chosen the usual way — pinned on the form, else the organization default. The test splits the verifications that policy decides.
Related
- Review verification requests — the signals your rules test come from here.
- Webhooks — the
policyblock added to decision events. - Automation workflows — react to the decision: book the live call, notify, route.
- Live ID verification — the video call a Require live verification rule asks for.
- Billing & credits — upgrade to unlock the Workflow Policies Designer.
The applicant experience
Walk through every step an applicant sees in Certivant — from the KYC invitation email to the verified confirmation — so you can help them when they get stuck.
Automate actions with workflows
Build Certivant Automation Workflows that react to verification events — form submission, approval, score threshold — and run actions like notifying applicants or routing work to the right team.